Super-aluminium guide trough assembly instructions
Assembly kits: Basic and Heavy Duty
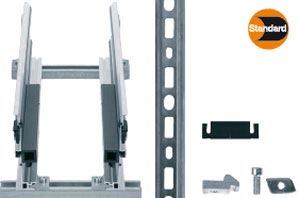
Basic assembly kit
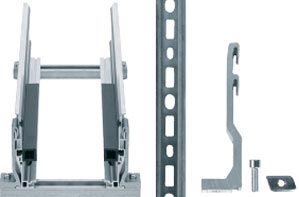
Heavy Duty assembly kit
Pre-assembly assembly kit: Basic the standard!
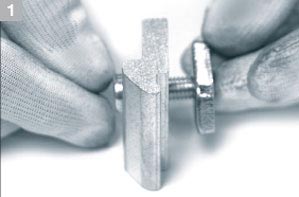
Pre-assemble the clamping shoe and the screw kit
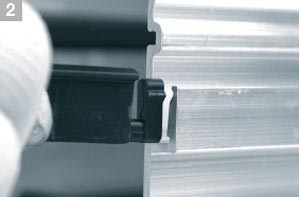
Clip in fasteners, plastic into housing provided on both sides
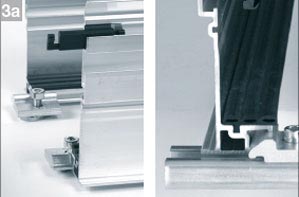
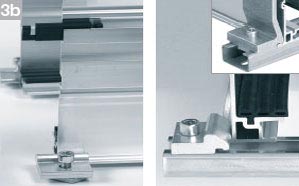
Fasten Basic assembly kits inside 3a or outside 3b (Check whether the strength of the fastening is adequate). Make sure that half of the assembly kits and fasteners stick out of the trough and the sliding nut is placed into the C-profile correctly.
Pre-assembly assembly kit: Heavy Duty (alternative)
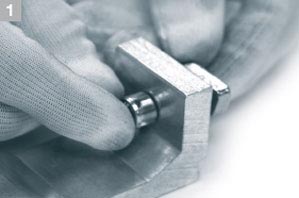
Pre-assemble bracket and screw kit
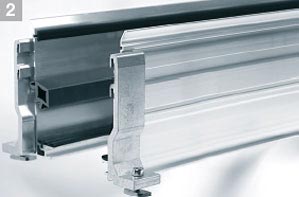
Fasten Heavy Duty assembly kits on the outside.
Please make sure that half of the assembly kits stick out of the trough!!
Installation: Rubber profile (optional)
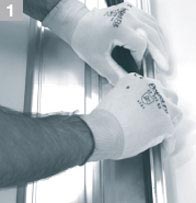


The rubber profile is cut to the trough length (standard 2 m) and pressed into the groove provided by hand. (Picture shows: left-hand side. Right-hand side is mirrored. To be repeated for all trough segments.)
Connecting and fastening: trough segments
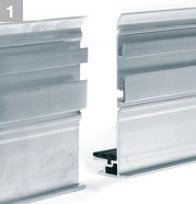
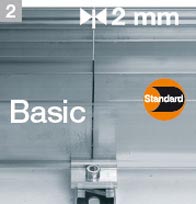
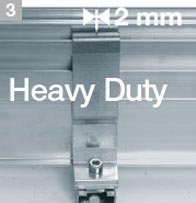
1 Join both trough side parts by pushing them together (allow at least +2 mm clearance!).
2 + 3 Cover half of each trough segment with the assembly kit.
Adjust clearance & align trough segments
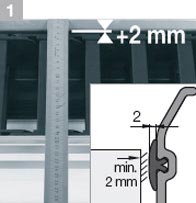

1 Set the required minimum clearance "chain/trough" of 2 mm on both sides.
2 Test whether the E-Chain® runs smoothly and without problems in the guide channel. In the case of central infeed with KMA, please bear the KMA width in mind.
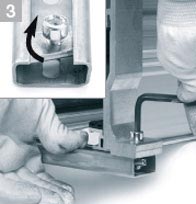
3 Once you have set the minimum clearance and all trough segments are aligned flush, tighten up all screws on the trough. Take note of the correct installation direction of the sliding nut (see detail). Tightening torques for fastening screws on the assembly kits: M6: 10 Nm / M8: 23 Nm
More than 100,000 products available! Delivery and consultation Mon-Fri from 7am-8pm and Sat from 8am-12pm!