Assembly Instructions for E-Chain® System E4/4
Assembling E-Chains and E-Tubes
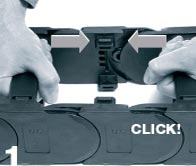
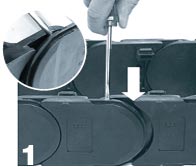
Remove crossbars at connection points, push tongue and groove into each other at a slight angle
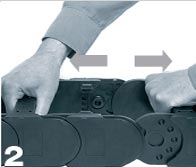
Join the side links - join the second side link by pressing from the top
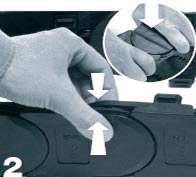
Join the side links together on the opposite side by applying pressure to the outer link
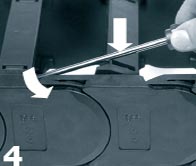
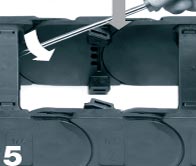
Assemble crossbars - Push down and snap in by using a screwdriver
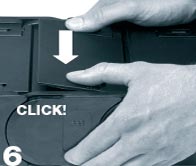
Assemble clips (E-Chains® with crossbars every other link) - Push down and snap in
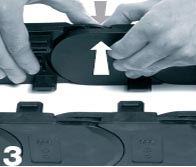
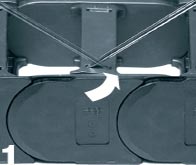
Assemble E-Tube lids/bottoms - Attach to the connector at an angle - Snap in
Separating E-Chains® and E-Tubes
Remove crossbars, clips, and lids on two adjacent chain links. Guide the screwdriver into the slot between side links
and release it by levering it and separate the E-Chain®
Opening E-Chains®
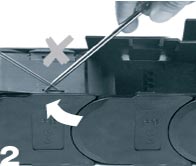
Remove crossbars - Insert screwdriver into the slot, push down, release by lever action
Remove clips - Insert screwdriver into the slot and push down, release by lever action
Opening E-Tube

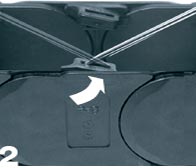
Remove lids/bottoms - Insert screwdriver into the slot, release by lever action
Release only one side to swivel the lid
System E4 - Installation - Video
Still faster assembly with optional separator with quick release fastener
More than 100,000 products available! Delivery and consultation Mon-Fri from 7am-8pm and Sat from 8am-12pm!